How to Link Facebook page to Connect?
Overview

If you are using Meta Business manager, you might encounter difficulties with the Facebook integration with Connect. Specifically, the problem affect merchants who are both the owners of the Facebook page and Meta Business Manager.
Users with relevant permissions, other than ownership of the Meta Business Manager, can successfully integrate Facebook with Connect without encountering any issues.
In the interim, if you are experiencing this problem, we recommend assigning access to your employee or a trusted family member who can connect to the Facebook page from their account. By doing so, you can circumvent the current issue and continue the integration with Facebook seamlessly. Our dedicated team is actively investigating this issue to identify its root cause and implement a resolution promptly. We apologize for any inconvenience this may cause and appreciate your patience as we work to resolve the matter.
To give someone Facebook access to a Page in the new Pages experience:
- Log in to Facebook, then click your profile photo in the top right.
- Click See all profiles, then select the Page that you want to switch into.
- Click your Page's profile picture in the top right to go to your Page.
- Click Settings and Privacy, then click Settings.
- Click Page setup, then click View next to Page access.
- Next to People with Facebook access, click Add New.
- Click Next, type the name or email address of the person you want to give Facebook access, then click their name.
- From here, you can choose to give the person Facebook access with full control or partial control:
- Scroll down, then click Give Access.
- Type your Facebook password, then click Confirm.
Accessing Facebook Page Linking
- Navigate to RepairDesk Homepage: Begin by accessing the RepairDesk homepage. You can log in to your RepairDesk account using your credentials.
- Open "RepairDesk Connect": Once logged in, open RepairDesk Connect.
Linking a Facebook Page
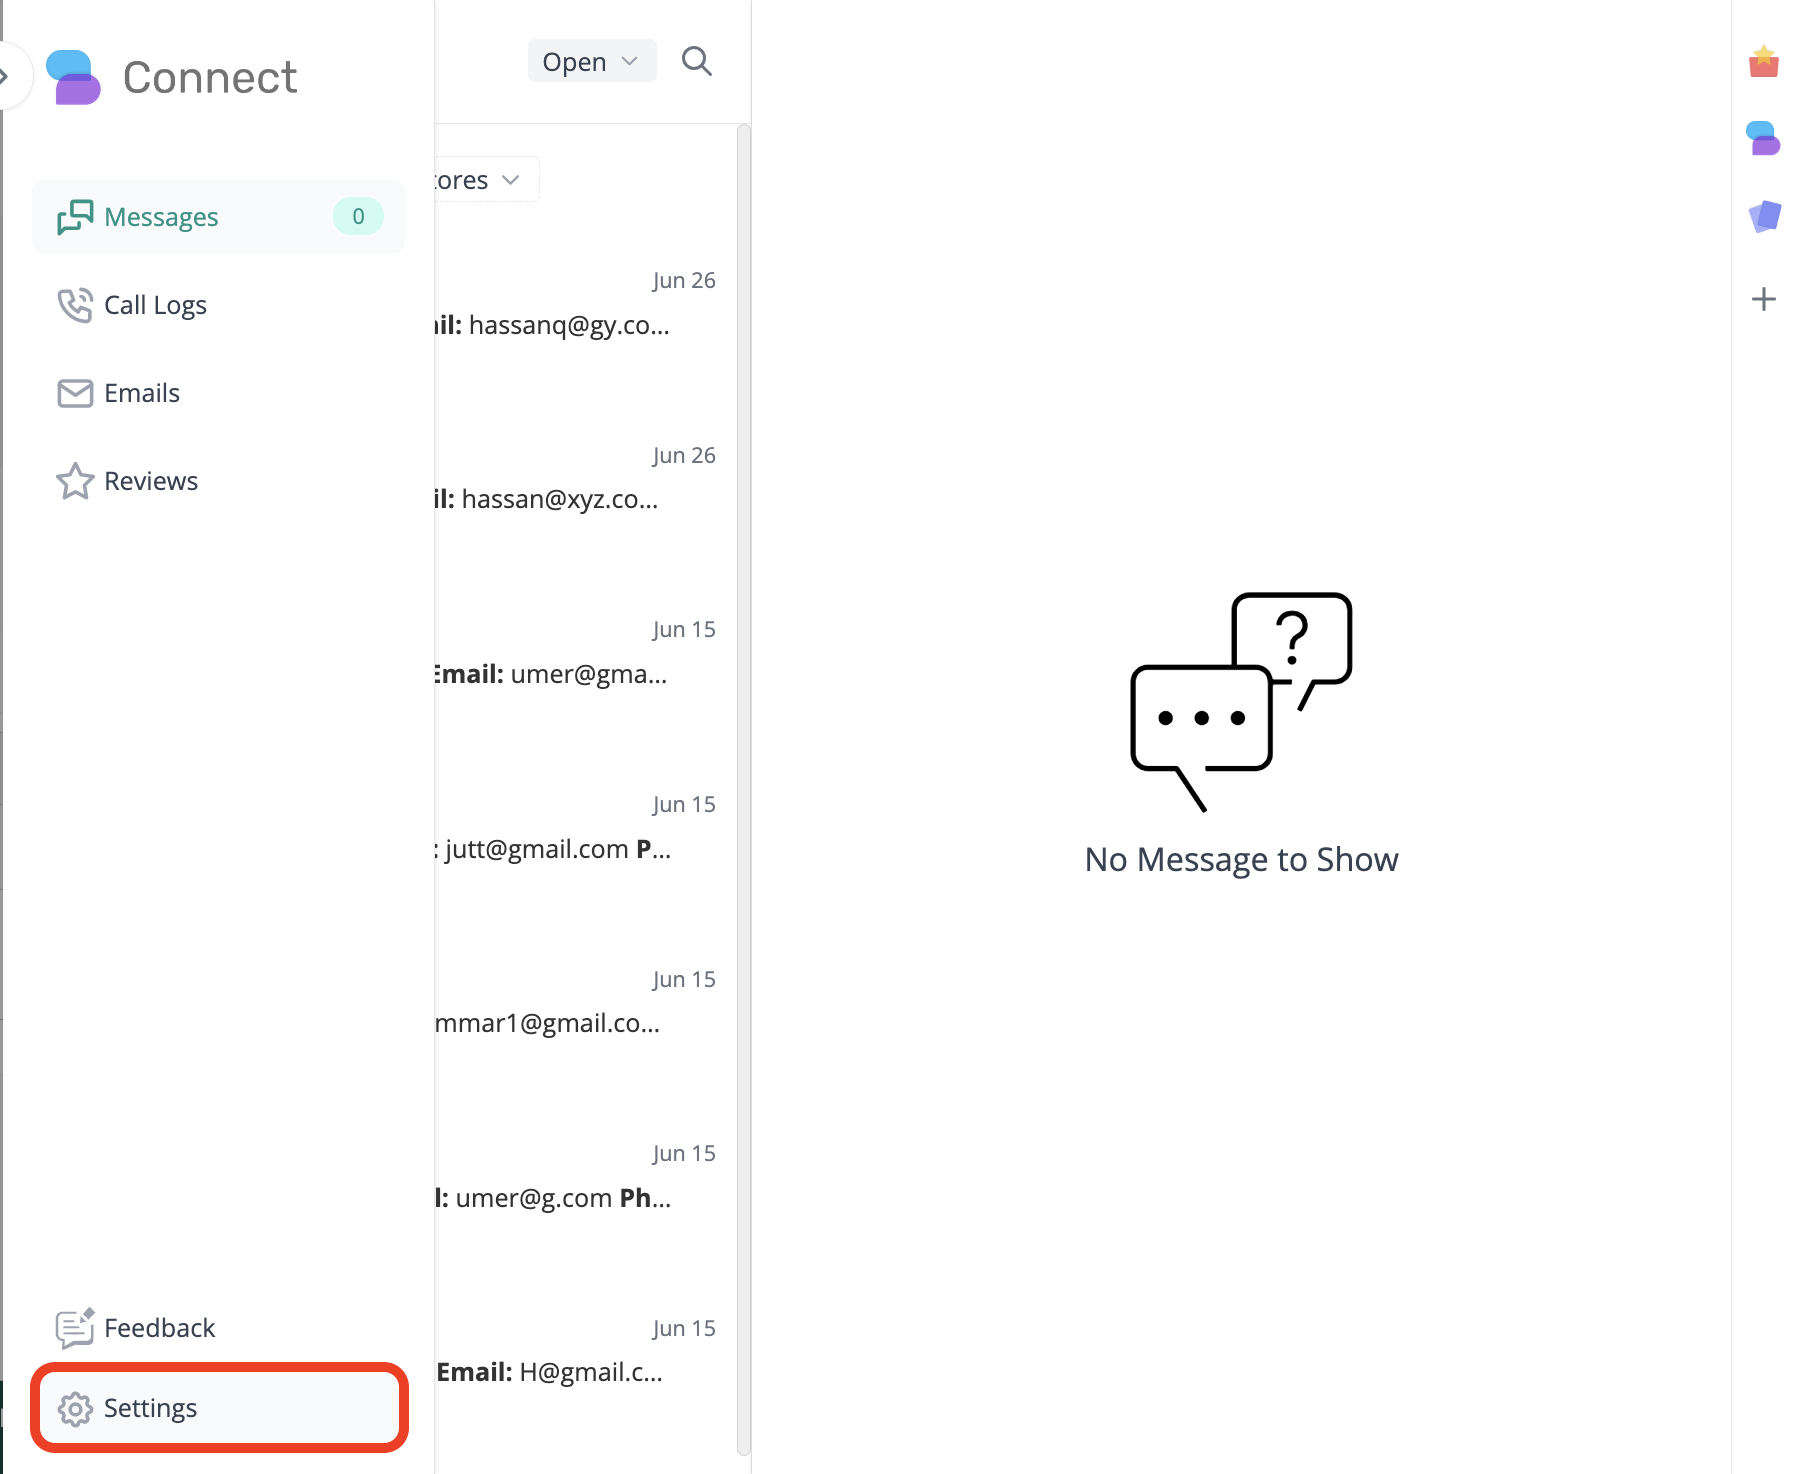
- Access Settings: Inside RepairDesk Connect, navigate to the left drawer and click on the "Settings" option. This is where you can configure various integrations and settings.


.png)

Message Management

