Transfer Inventory
Overview
The Transfer Inventory feature in RepairDesk allows you to seamlessly transfer inventory from one store to another. This powerful functionality streamlines your inventory management process and ensures that your stock levels are always up to date. This help article will guide you through the process of creating a Transfer Order and receiving inventory from another store using RepairDesk.
2. Creating a Transfer Order
To initiate the transfer of inventory, you need to create a Transfer Order. This involves specifying the order details and adding the inventory items to be transferred.
Step 1: Access Transfer Inventory
From the top menu, navigate to Inventory > Transfer Inventory.
Step 2: Create a Transfer Order
Click on "Create Transfer Order."
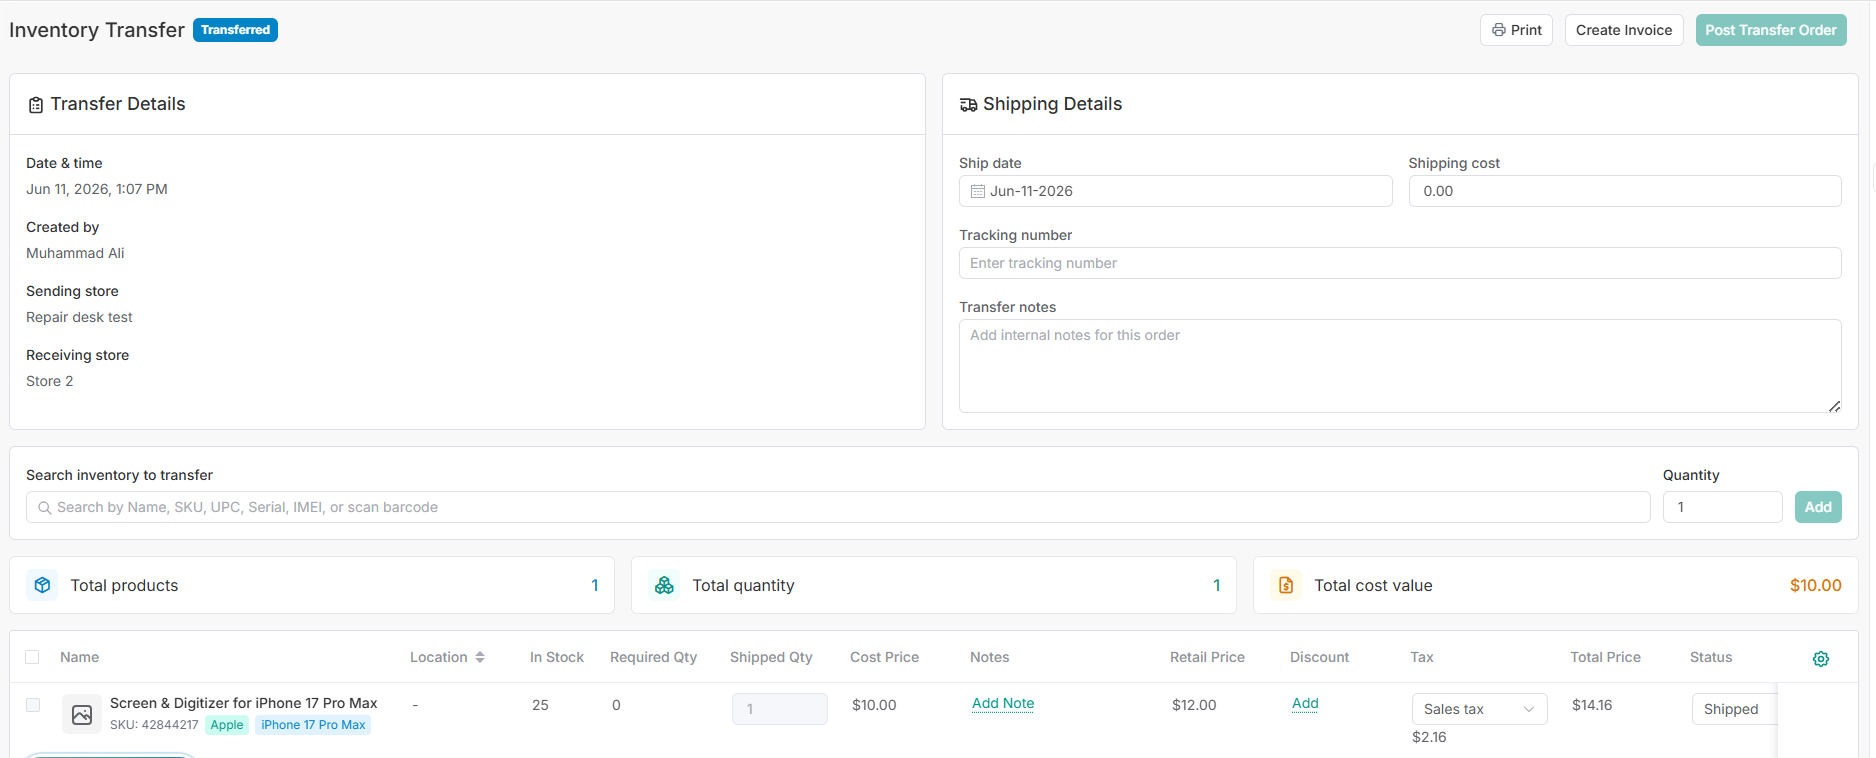
Step 3: Specify Transfer Order Details
- Date: Select the date on which you are creating the transfer order.
- Sending Store: Choose the store that will transfer the inventory.
- Receiving Store: Select the store that will receive the inventory.
- Created By: Select the user who is creating the invoice (default is the logged-in user).
- Shipped Date: Choose the date on which you shipped the inventory.
- Shipping Charges: Enter the shipping charges (not added to the total cost).
- Tracking Number: Enter the tracking ID provided by your shipping carrier. h. Notes: Add any relevant notes for the store receiving the inventory.
Step 4: Add Inventory Items
To add inventory items to the Transfer Order, fill the details.
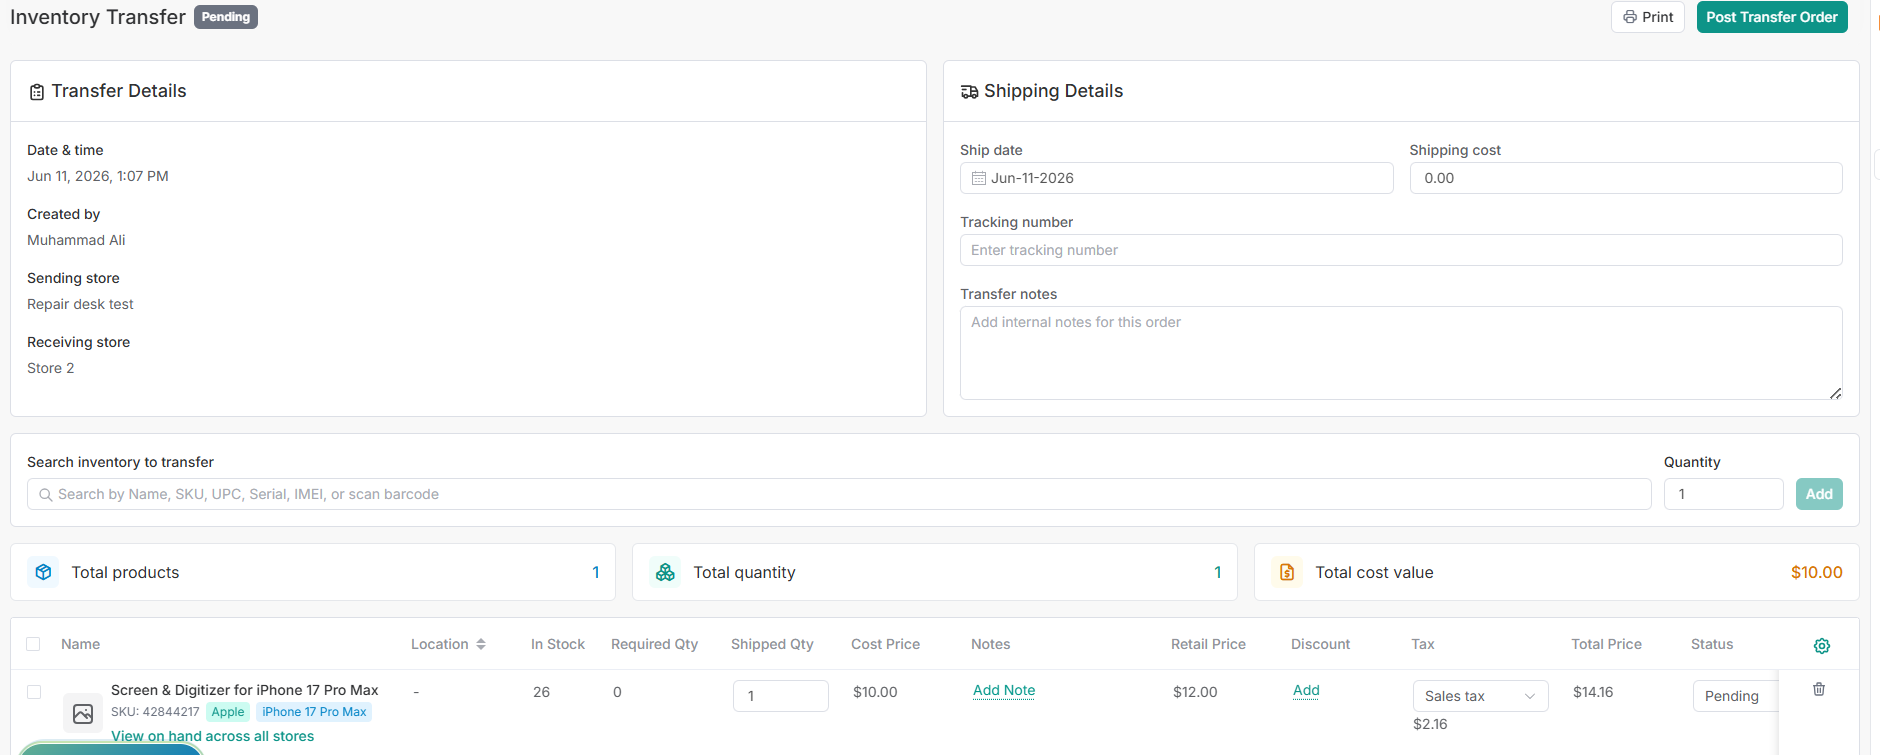
Step 5: Save the Transfer Order
Click on "Post Transfer Order" A confirmation message will be displayed, indicating that the Transfer Order has been created successfully.
You can also click on ‘Create Invoice’. It will generate an inter company invoice for you.