How to Use RepairDesk Forms to Create Leads, Mail-In Repair Tickets, and More
Mail-in repairs and online inquiries often mean a lot of back and forth. You collect device details over email or phone, send a shipping label, chase payment, and then enter everything into your system by hand.
RepairDesk Forms lets customers do this themselves. You build a form that matches your brand, then share it as a link or embed it on your website. When a customer submits it, RepairDesk creates a ticket or a lead automatically. You choose what the form asks for, including customer details, device, services, your own questions, and terms and conditions. For mail-in repairs, the form can create a shipping label through ShipStation and let customers pay upfront, so the device arrives with everything already in RepairDesk.
Video Guide:
In this guide, you’ll learn how to enable RepairDesk Forms, create and customize a form, choose whether it creates tickets or leads, set up shipping and payment for mail-in repairs, and see how a submitted form shows up as a ticket in RepairDesk.
FAQs
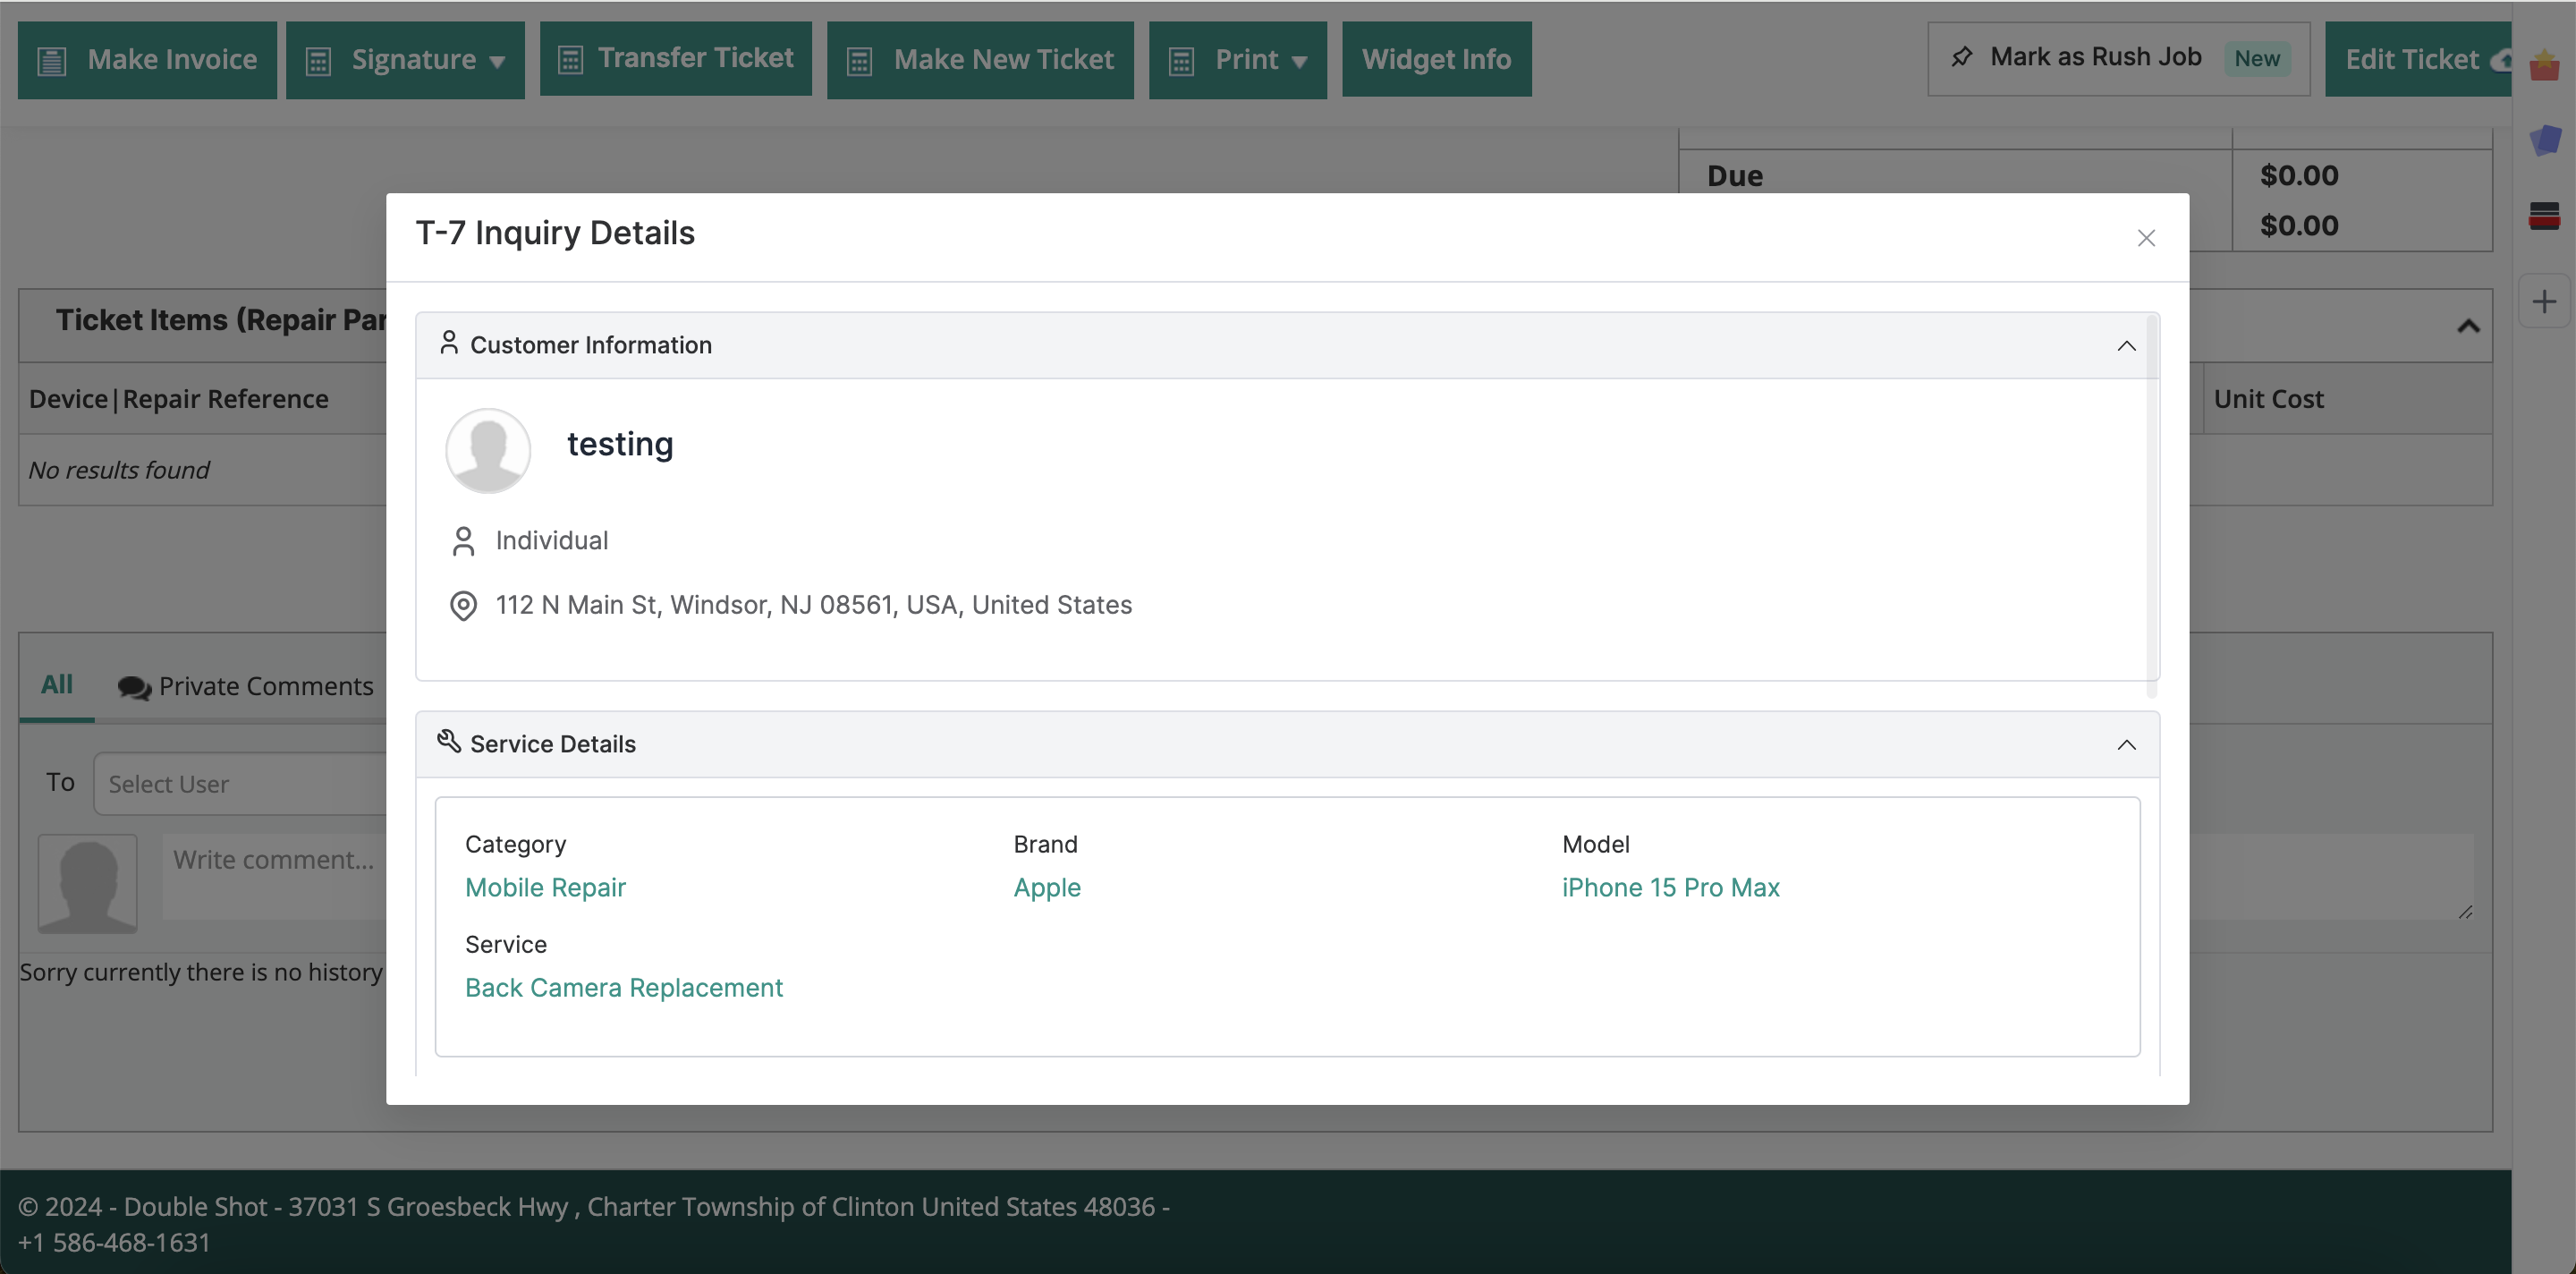
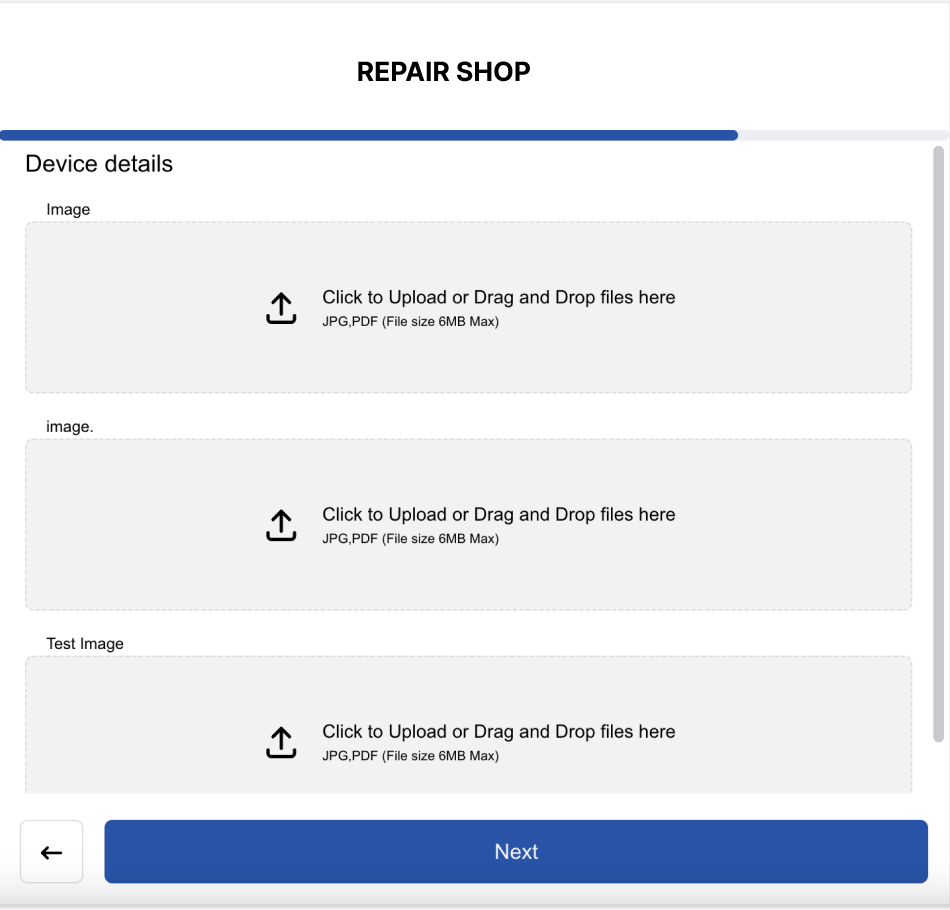
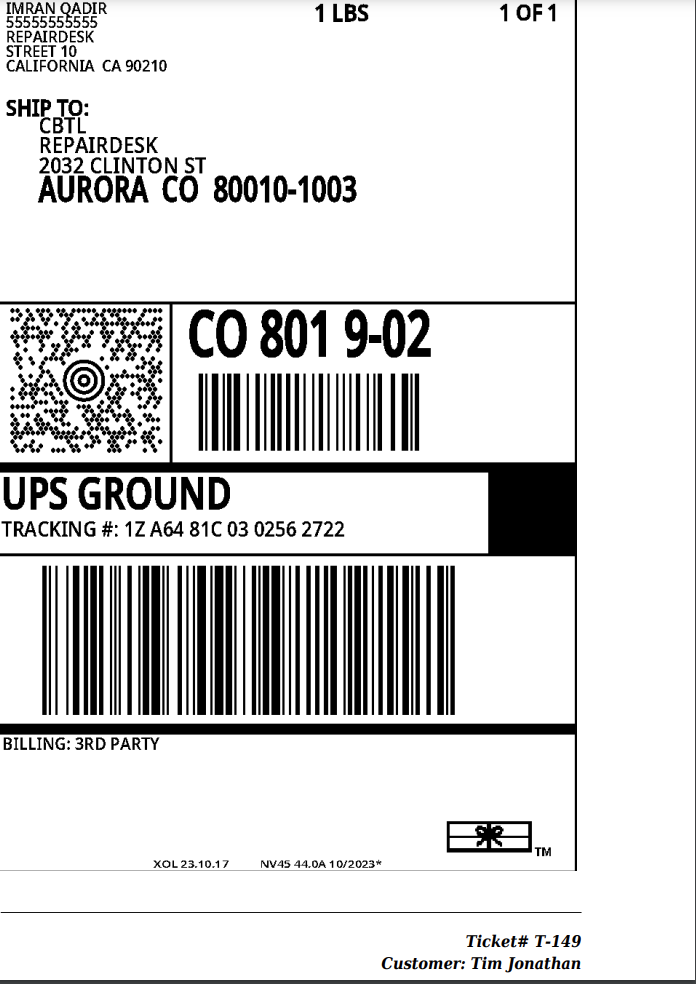
Yes, you can now enable customers to download a PDF summary of their inquiry after submitting the RD Form—right from the confirmation screen.
To enable this:
- Go to the Confirmation Step in your RD Form builder.
- Turn on the toggle labeled "Allow customers to download inquiry details."
- (Optional) Customize the button label that appears after submission.
- Once enabled, customers will see a Download Inquiry Details button after they complete the form.
- Clicking this button will generate a PDF containing all submitted information—structured in the same order as your RD Form steps.
Skipped steps won’t appear in the file, and the layout follows the order of your configured form steps. This not only helps your customers stay informed but also reduces back-and-forth clarification for your team.
Yes! You can now automatically send form submission copies to employees when a customer fills out an RD Form.
Here’s how you can set it up:
- Go to Settings > Integrations > RD Forms.
- Create a new form or edit an existing one.
- Click on the 3 dots and select “Email for Admin” option.
- Toggle the new option "Send an email to employees when a form is filled" based on your preference.
- Select one or multiple employees from the list who should receive an email when the form is submitted.
Yes! Two new dropdown options have been added to the confirmation widget step of each form.
You can now select a default ticket status and default task type that will automatically apply to all tickets created via that form. This helps streamline your workflow by ensuring tickets start with the right settings based on the form used.
Yes. We’ve added email verification to the Customer Detail widget step in RD Forms.
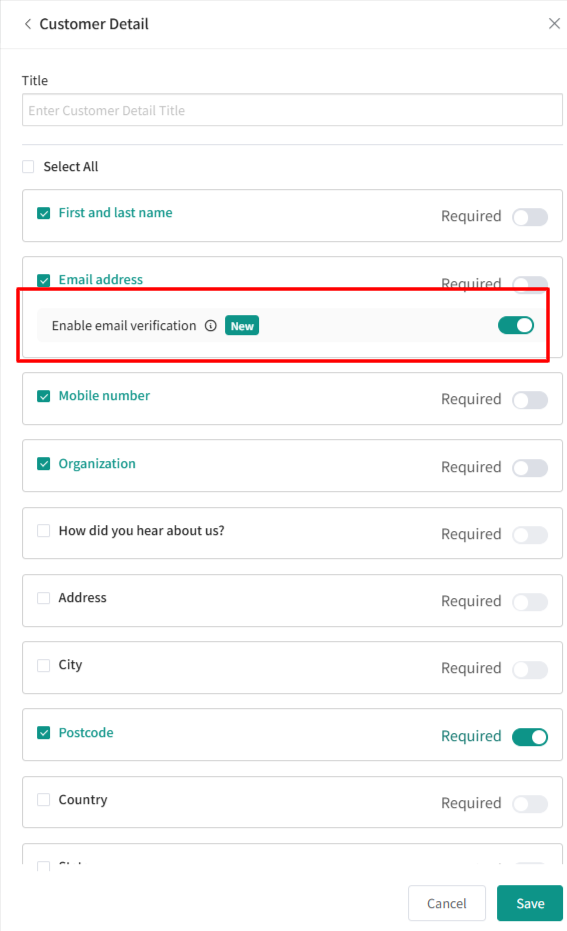
When a customer enters their email:
- They’ll receive a verification code at the provided address.
- The customer must enter the code in the form to confirm the email is valid.
This ensures that the email address collected through RD Forms is correct and usable for receipts, notifications, and future communication.
- Go to Module Config > Estimates.
- Look for the new trigger labeled “Display custom form fields submitted via RepairDesk Forms on Estimates.”
- Enable this option.
This saves time by eliminating the need to re-enter information and ensures consistency between what the customer provides in the form and what appears in the Ticket.
This makes it easier to quickly identify files — for example, “Upload back side of phone” or “Upload front side of phone” — so your team can review and act on attachments without confusion.
Prerequisite:
The Shipping step must be placed before the Payment step in your form flow. If the Payment step comes first, shipping fee collection will be disabled with a warning.
How to enable it:
- Open your RD Forms builder and navigate to the Shipping step.
- Inside the Shipping Methods configuration, locate the new Shipping Charges section.
- Select your preferred charge type:
- Flat Rate — Enter a fixed shipping amount. This amount is charged regardless of the customer's address or package details.
- Dynamic Rate — Shipping cost is calculated automatically via ShipStation API based on your configured shipping service, package, weight, and the customer's address (captured in the Customer Details step).
- Optionally, add a markup % to apply on top of the calculated shipping charge.
- Enable the "Charge shipping fee with deposit" toggle to include the shipping fee in the payment collected on the Payment step.
- Save your form.
What the customer sees:
- On the Shipping step, the customer sees the pre-configured shipping method, package, and the calculated shipping cost as a line item.
- On the Payment step, the deposit amount and shipping fee are displayed as separate line items, and the customer pays the combined total in a single transaction.
Where it appears after payment:
- The deposit invoice is updated to include the shipping fee as a separate line item alongside the deposit.
- The ticket's billing section also reflects the shipping fee as a separate line item.
Note: If no charge type is configured, shipping cost will not be displayed or collected — the Shipping step will continue to work as it does today.
If the Payment step is set as mandatory and the customer closes the tab before paying, the ticket is saved as a Draft rather than an active ticket. Draft tickets appear in your Manage Tickets listing with a "Draft" label, so you can easily distinguish them from active repair jobs. You can open, view, edit, and manage them like any other ticket.
A draft ticket automatically converts to an active ticket as soon as you take any action on it — opening and editing it, changing its status, or performing any other activity from the backend. Customer-facing email and SMS notifications are only sent once the ticket becomes active; in-house store notifications still fire when the draft is first created.
Completing a fresh form submission creates a new active ticket. The earlier draft isn't automatically linked or resolved — it stays in the system as an orphaned draft, so you'll want to review and delete those manually.
If Show Instructions is disabled, no instruction section is shown on the Custom Form step — the form simply starts with the first field, with no blank spacing. Note that turning the toggle off also clears any instruction text you previously entered, so you'd need to re-enter it if you enable the option again later.
The consent checkboxes sync directly to the customer's Email and SMS notification preferences in RepairDesk. If a customer ticks a consent box, that notification preference is enabled on their profile; if they leave it unticked, that preference is explicitly set to disabled. This applies to both new and existing customers — so if an existing customer fills out the form without ticking a box, their corresponding notification preference will be turned off. It's worth keeping this in mind when enabling consent on forms your existing customers may resubmit.
- In your Custom Form, add a new field and select Hyperlink as the Field Type.
- Enter a Field Name (the title shown above the link), a Label (the clickable text), and the URL you want the link to open.
- Click Save.
- Open your form, then go to the Customer Detail step.
- Under Restrict countries, choose the countries you want to appear in Countries to show.
- Click Save.
The Country dropdown on that form will only show the countries you selected. For example, if you select only the United States, customers on that form can only choose the United States. Your other forms are not affected.
Note: If you don’t select any countries, the dropdown shows all countries. This setting limits which country a customer can submit, but it does not stop customers from opening or filling out the form.
In the Repair Categories, Brands, or Models step, enable "Show Search Bar," then uncheck the "Allow Manual Entry" trigger below it. Users will only be able to select from the existing list for that step.