How to print mini receipt, ticket label or full invoice
You can print invoices, check-in receipts, ticket receipts and labels easily with RepairDesk. Once you checkout, from the payment confirmation pop-up, you can easily print ticket label, mini receipt or a full invoice on A4 paper.
Steps:
1. Go to the POS and make a transaction.
2. Once order details are entered and confirmed, click on Checkout button.
3. Take a payment. To learn about taking a payment, click here.
4. Click on Confirm to print an invoice.
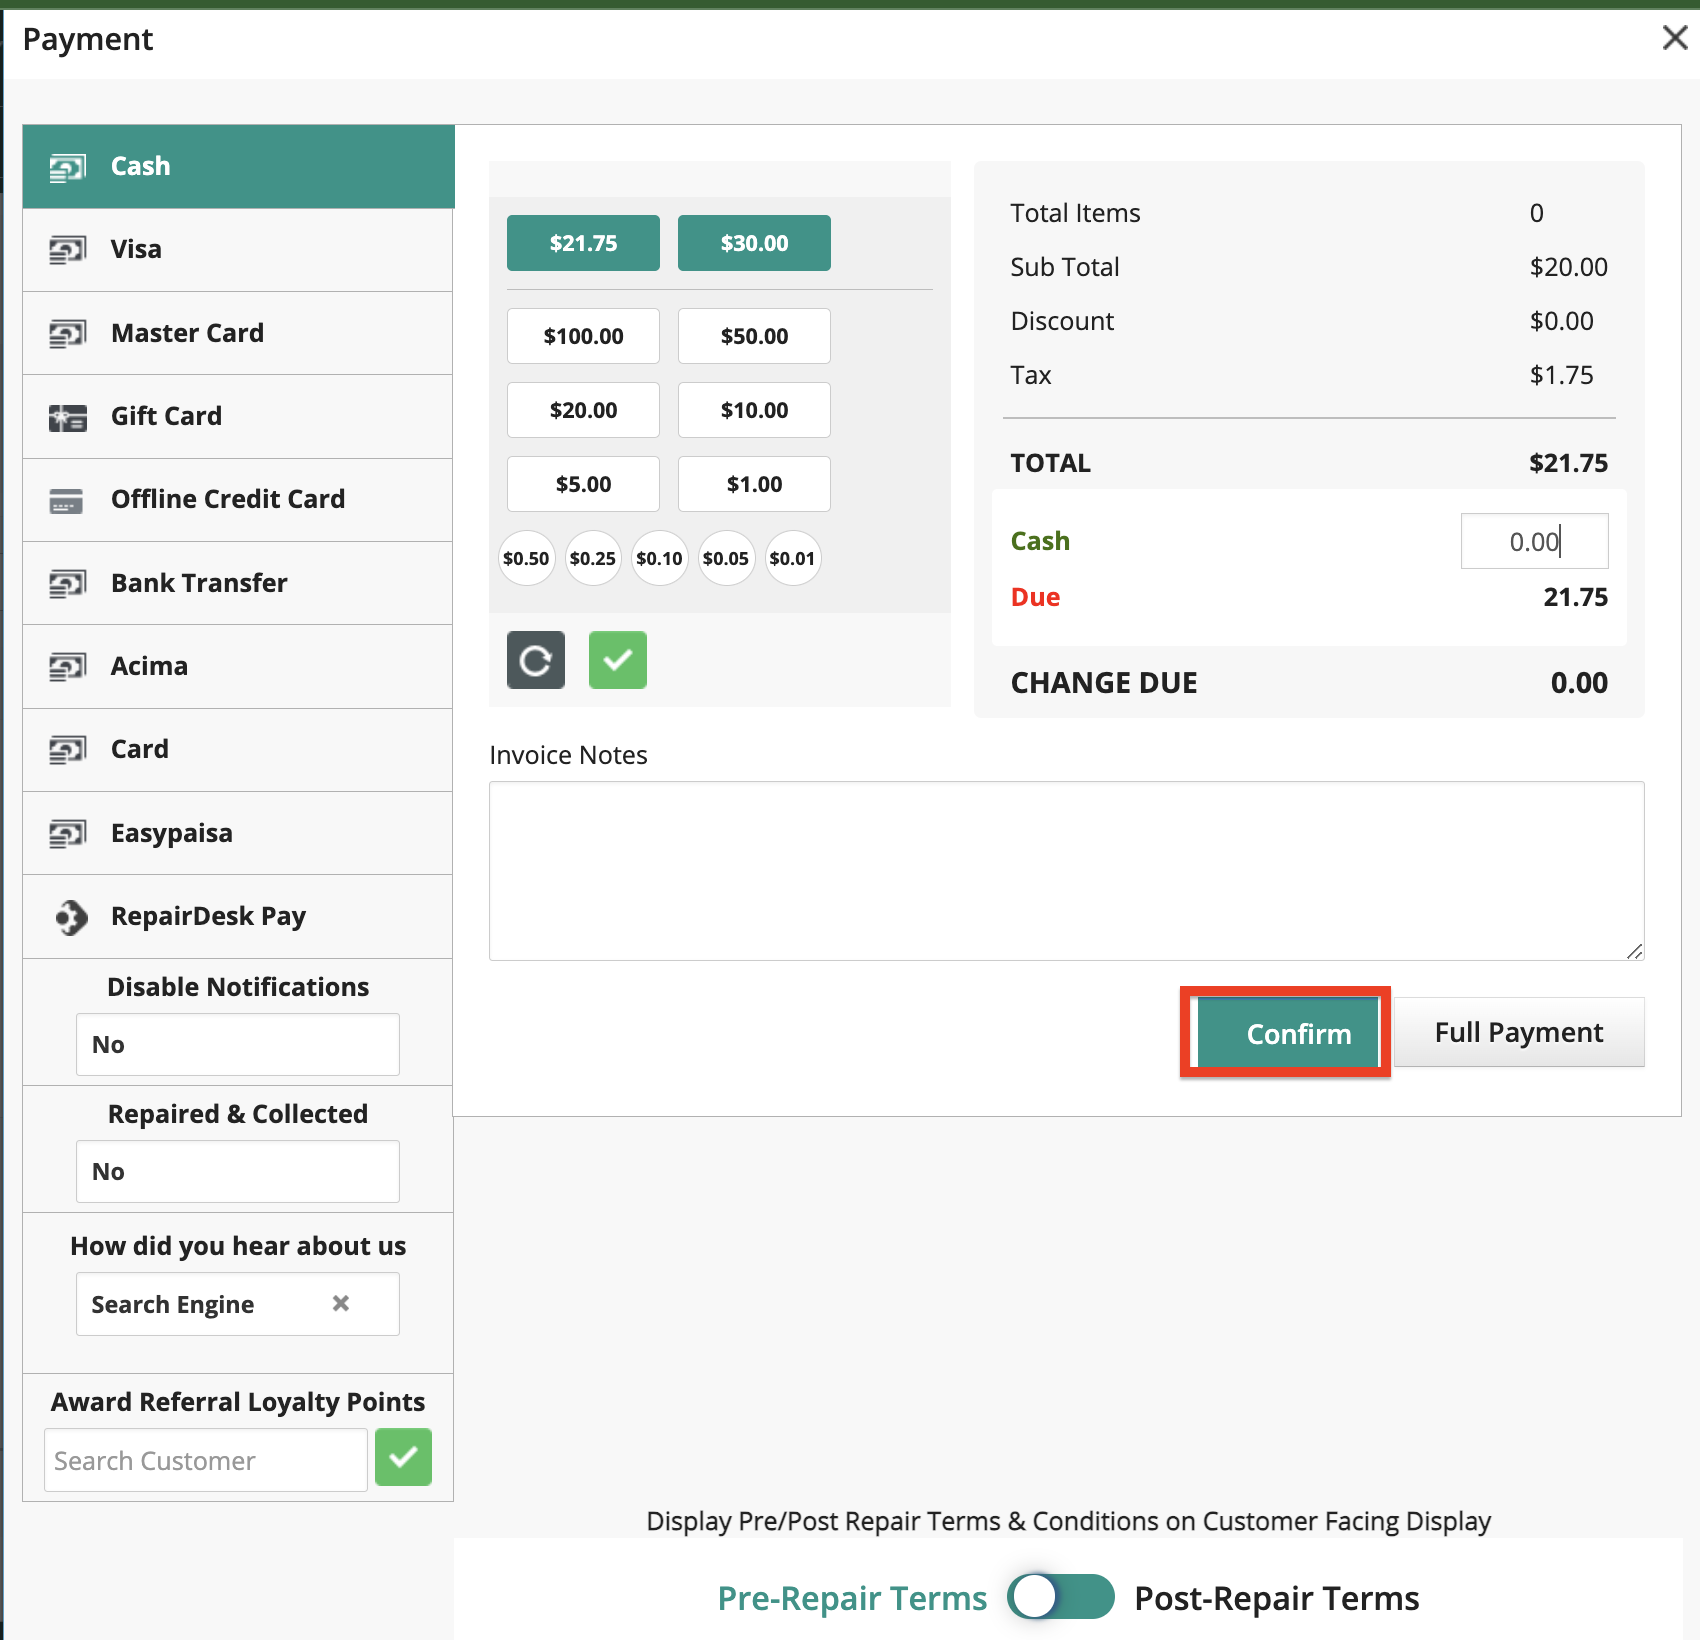
Steps:
1. Go to the POS and make a transaction.
2. Once order details are entered and confirmed, click on Checkout button.
3. Take a payment. To learn about taking a payment, click here.
4. Click on Confirm to print an invoice.
5. Select the type of receipt, invoice, ticket or label you wish to print.

6. In case you were creating a ticket, first confirm ticket details and then head to Create Ticket.
5. Select the ticket receipt or ticket label for print from options in the pop-up.
6. In case you were creating a ticket, first confirm ticket details and then head to Create Ticket.
5. Select the ticket receipt or ticket label for print from options in the pop-up.

6. To print a mini or docket receipt simply click "Print Mini Receipt" which will create a PDF document and then hit print icon inside PDF document to complete this process.
FAQs.
Q. Can I set up automatic printing for invoices and receipts?
A. Yes. You can also automate printing task via Google Cloud Print so that every time you complete a transaction it automatically prints out a docket receipt.
Q. How can I print an invoice for a previously created ticket?
A. Simply call the ticket on the POS by scanning the bar code or entering Ticket ID in the highlighted section in the image below. Then head to checkout to take payment and create an invoice.

Now you can also add custom field using a specific macro .
Q. Is there any particular recommended hardware for printing?
A. Yes, we recommend the following hardware for smooth printing jobs:
Recommended hardware:
1. Epson TM-T88V is recommended receipt printer for RepairDesk however any thermal printer (80mm paper size) will allow you to print customized mini receipts. Please note RepairDesk doesn't support a receipt printer with (58mm paper size)
2. You can also print ticket label using DYMO Label Writer 450 and stick it to the device so a technician can scan a barcode to open repair ticket.
Settings For Dymo Label 450:
if paper size height = 1 inch and width 2.1/8 inch
Repairdesk label Setting = width 54 and height 28
Dymo Label Printer setting = 30336
If paper size height = 1.5 inch and width 3.5 inch
Repairdesk label Setting = width 88 and height 38
Dymo Label Printer setting = 30321
A. Yes, we recommend the following hardware for smooth printing jobs:
Recommended hardware:
1. Epson TM-T88V is recommended receipt printer for RepairDesk however any thermal printer (80mm paper size) will allow you to print customized mini receipts. Please note RepairDesk doesn't support a receipt printer with (58mm paper size)
2. You can also print ticket label using DYMO Label Writer 450 and stick it to the device so a technician can scan a barcode to open repair ticket.
Settings For Dymo Label 450:
if paper size height = 1 inch and width 2.1/8 inch
Repairdesk label Setting = width 54 and height 28
Dymo Label Printer setting = 30336
If paper size height = 1.5 inch and width 3.5 inch
Repairdesk label Setting = width 88 and height 38
Dymo Label Printer setting = 30321